Are you tired of hearing that constant dripping sound from your tap? Not only is it annoying, but it’s also a waste of water and can increase your water bill if left unchecked. Understanding how to address this common household problem can save you time, money, and unnecessary stress. We’re here to help you get to the bottom of why your tap is dripping and how to fix it efficiently.
Firstly, knowing why your tap drips is essential in tackling the issue effectively. Most times, it’s due to worn-out washers or O-rings, which can be easily replaced. Other times, it might be a more complex issue like improper faucet installation or high water pressure. Whatever the case, identifying the root cause is the first step to a solution. Next, we’ll walk you through what tools and materials you will need. These are usually simple tools, some of which you might already have at home. Equipping yourself properly will make the repair process smoother and faster. Whether you’re a DIY enthusiast or just trying to fix a minor issue, this guide will outline everything you need to know to stop that drip and restore peace in your home.
Understanding Why Your Tap is Dripping
When you notice your tap keeps dripping, it doesn’t just mean a noisy nuisance; it’s also wasting water and could be adding unnecessary costs to your water bills. Most often, the reason your tap is dripping is because of a worn-out washer or a faulty tap valve, both of which are relatively simple for us to address. Understanding these common issues can help you diagnose the problem early, potentially saving you from a more complicated and costly repair down the track.
The first thing to check is the washer, which forms a water-tight seal and can wear out over time due to constant pressure and usage. If the washer is degraded, it will cause the tap to leak around the spout. Another culprit might be the O-ring, which seals the moving parts of the tap. If this part deteriorates, it can lead to leaks from the handle. Both issues are common and easily fixable with the right tools and a bit of know-how, which we’re here to share.
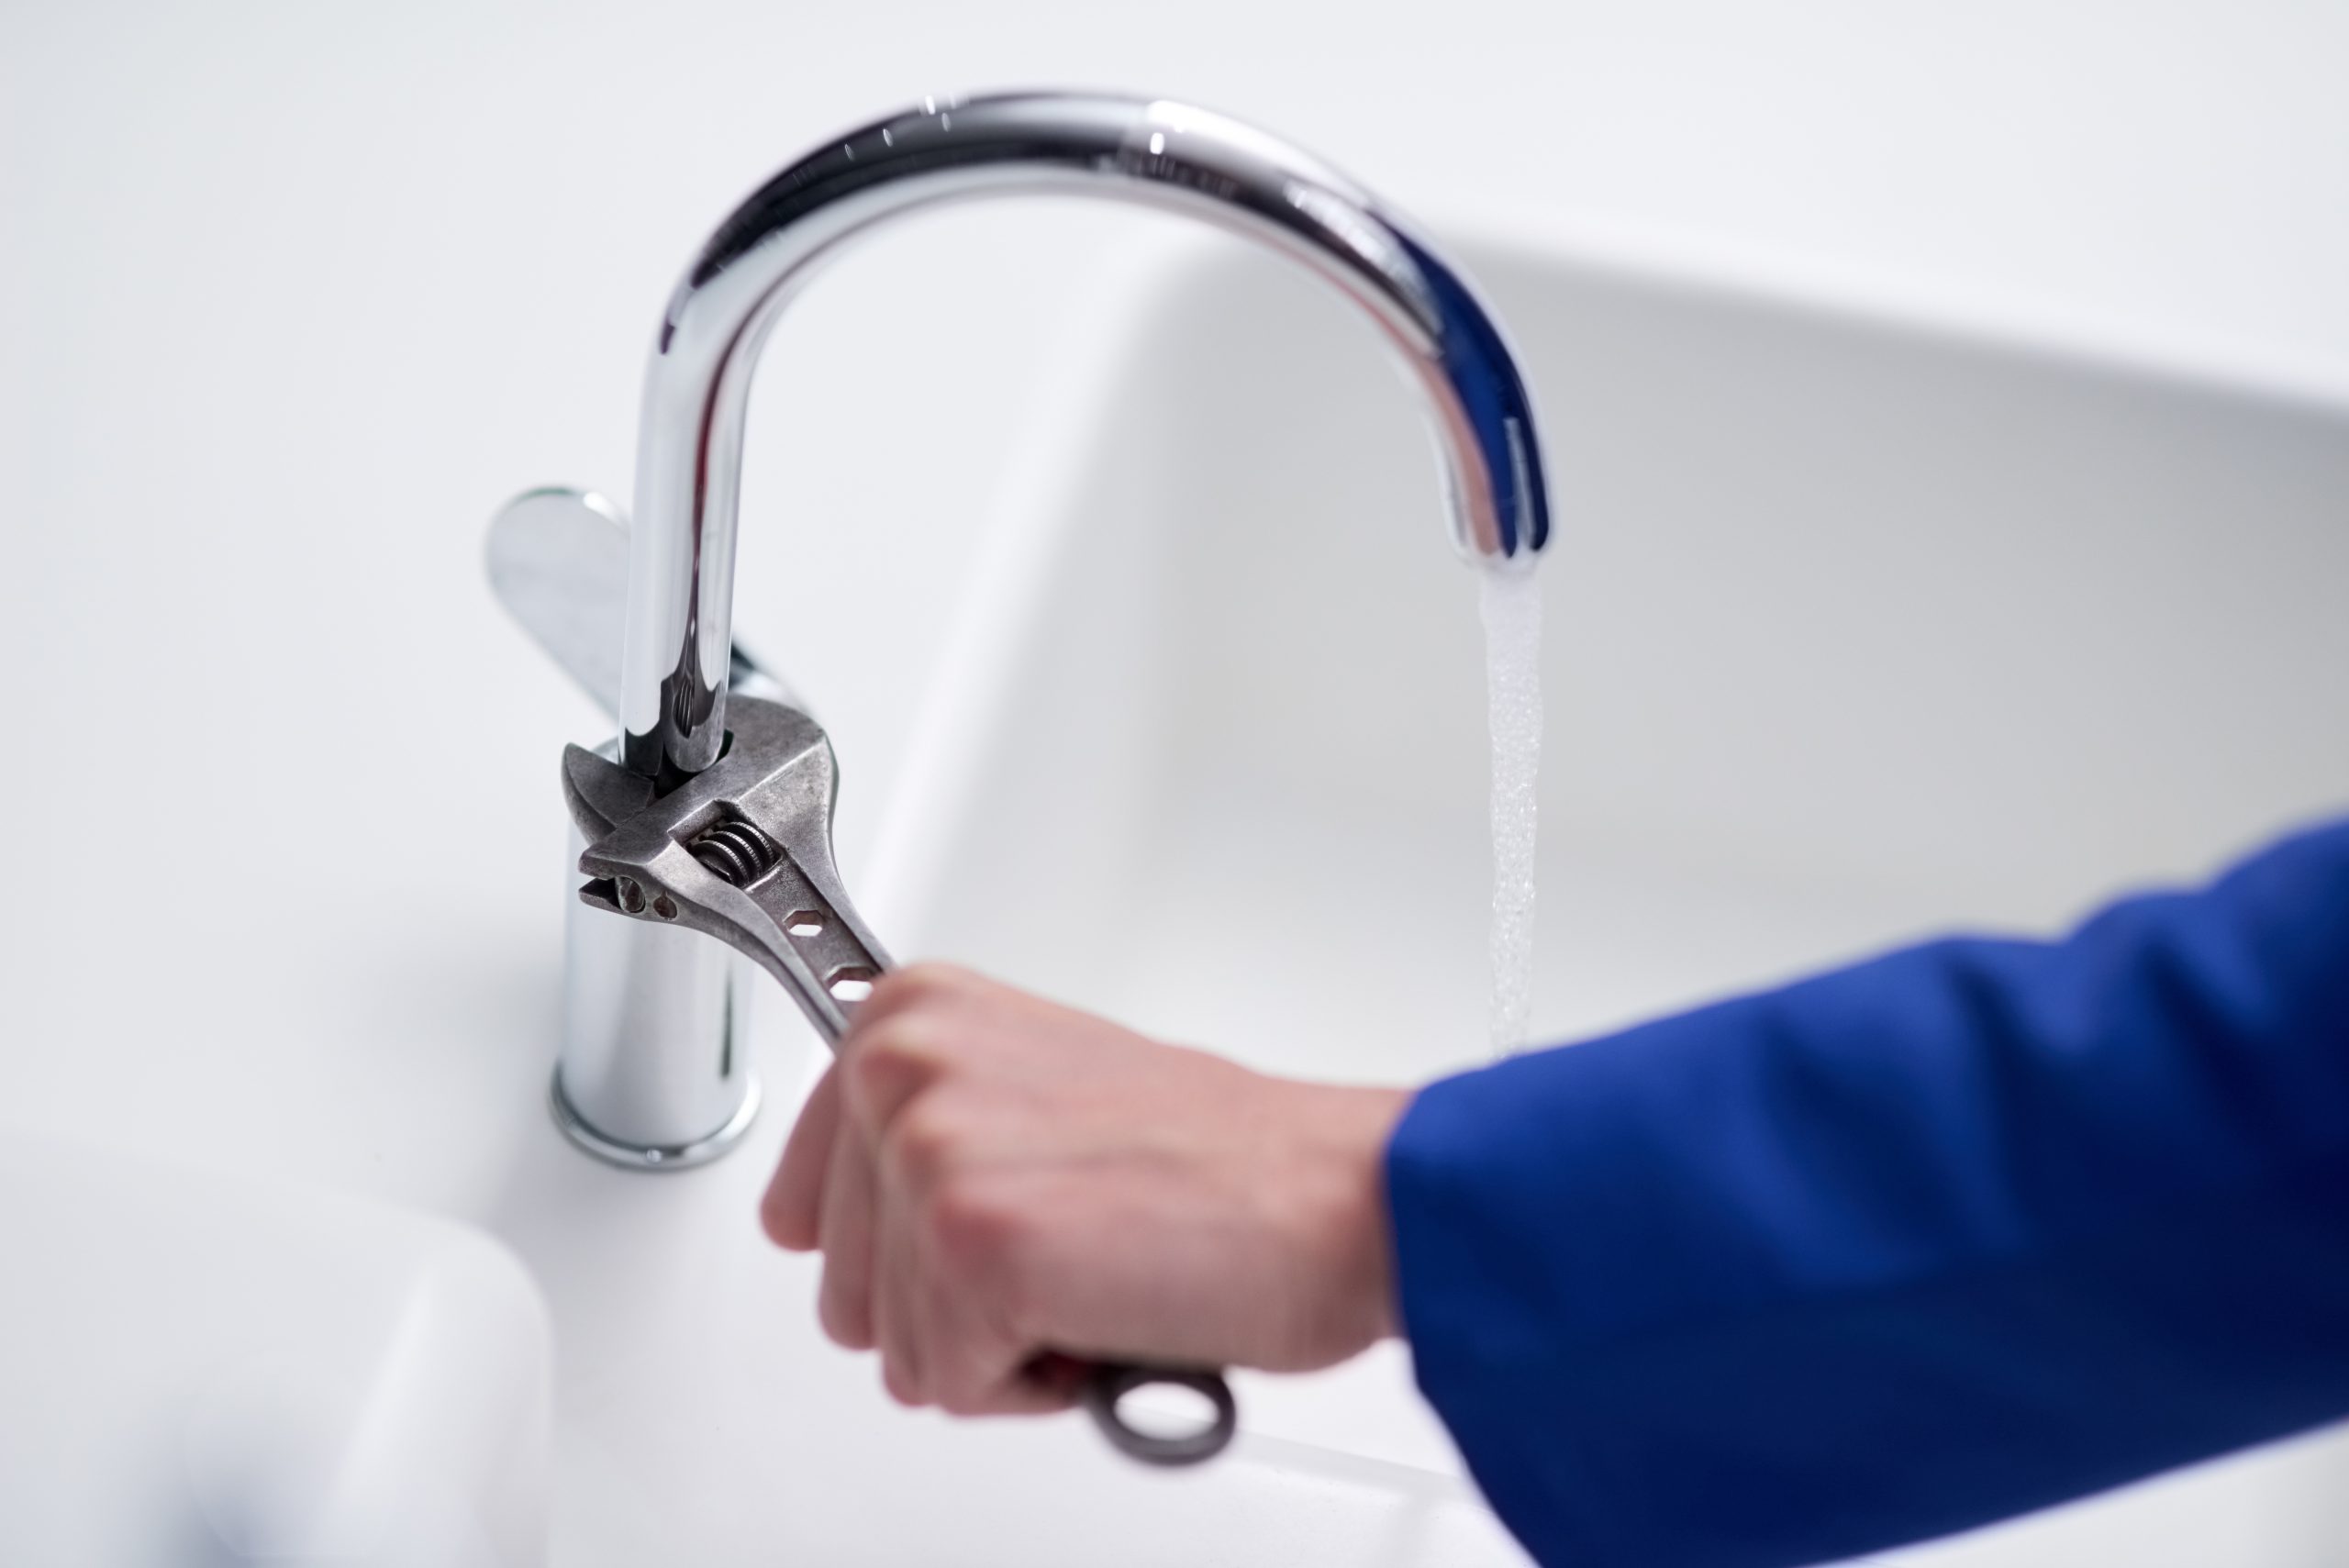
Tools and Materials You’ll Need
Before you get started on fixing that pesky dripping tap, it’s important to gather all the necessary tools and materials. Making sure you have everything at hand will make the process quicker and more efficient. Here’s a simple list of what you’ll need:
– Adjustable wrench: To loosen and tighten the nuts that hold your tap in place.
– Screwdriver: Most taps have screws that you will need to remove, and having both a flathead and a Phillips-head screwdriver will cover all bases.
– Replacement washers and O-rings: These often cause the drip, so having new ones ready is essential.
– Cloth: To protect the tap’s finish as you work with the wrench.
– Plumber’s tape: This helps to re-seal the thread once you’ve finished the repair.
Having these tools and materials ready before you start your repair will save time and prevent any mid-repair runs to the hardware store, ensuring a smoother, hassle-free experience.
Step-by-Step Guide to Fixing a Dripping Tap
Fixing a dripping tap is a simple task that we can guide you through. With the right tools and a little patience, you can stop that drip and prevent water waste. Here’s a step-by-step guide to help you:
- Turn off the water supply: Before you start, make sure to turn off the water supply to the tap. You’ll typically find the shutoff valves under the sink, or, in some cases, you may need to turn off the main water supply to your house.
- Remove the tap handle: Use a screwdriver to remove the handle from the tap. You might need to take off a decorative cap on the handle to access the screw.
- Replace the washer or O-ring: Once the handle is off, use your wrench to remove the nut that holds the tap components in place. Take out the faulty washer or O-ring and replace it with a new one.
- Reassemble the tap: Put all the parts back together. Make sure everything is tight and secure. Wrap the threads with the plumber’s tape if necessary before screwing the handle back on.
- Turn on the water supply: Once everything is reassembled, turn the water supply back on. Check the tap for any leaks and ensure it operates smoothly.
By following these steps, you should be able to fix a dripping tap effectively. Doing this not only saves water but also prevents potential damage to your home’s plumbing over time.
When to Call a Professional Plumber
While many minor plumbing issues, like a dripping tap, can often be handled with a DIY approach, there are times when it’s best to call us your professional plumbers. Understanding when to call in the professionals can save you from turning a small problem into a major one.
If you’ve tried fixing the tap and it continues to drip, it could indicate a more complex issue within your plumbing system, such as a problem with the valve seat or further deterioration that isn’t immediately visible. Additionally, if you encounter any plumbing issues that feel beyond your skill level, such as changes in water pressure or signs of a leak that you can’t locate, these are clear indicators that professional help is required.
Remember, attempting repairs when unsure can often lead to further damage, increasing the cost and complexity of the repairs needed. That’s why we’re here to help, offering expert advice and service to ensure your plumbing is functioning at its best.
Conclusion
Understanding when and how to tackle common plumbing issues, like a dripping tap, and recognising when professional assistance is needed are key aspects of effective home maintenance. We hope this guide has provided you with valuable insights into managing your home’s plumbing and has empowered you to either take on repairs or make the wise decision to seek professional help.
For any plumbing challenges you don’t feel prepared to handle, or if you’re unsure about the best course of action, remember that Capital Plumbing Specialists are just a call away. We pride ourselves on providing top-notch, reliable plumbing services in Canberra that keep your home running smoothly. Don’t hesitate to reach out to us today—let’s ensure your plumbing system is optimal, together.
 About Us